The Bakerly Life

The Bakerly Life

Search This Blog

Thursday, November 19, 2015

Chicken Marsala


On a chilly November night I feel like something hearty...but healthy which isn't always easy. Chicken Marsala is just the dish.  Its a warm, cozy dish that makes everyone at my kitchen table happy.  Best part is that its quick, and its all done in one pan.  Which means less cleanup and a quick dinner!

Chicken Marsla is a classic old school recipe that reminds me of my childhood.  The lightly coated chicken breasts simmer and braise in a sweet marsala sauce with sautéed mushrooms...and its heaven...just heaven.  This is a must try...Im confident it will become a favourite in your home and a new staple dinner to add to your weekly menu.


If your not a fan of mushrooms, you could leave them out of this recipe, and used chopped onion in replace of them.  But, theres something about the hearty mushrooms that make the dish more satisfying...and you kill two birds with one stone serving your veggie and your protein on one plate...another reason why this dish is a time saver.


1/2 cup all purpose flour
2 teaspoon salt
1 teaspoon pepper
1 teaspoon dried parsley
2 boneless/skinless chicken breasts cut in halves and pounded thin
1 tablesson Canola Oil
4 tablespoons butter
2 cups sliced mushrooms (button or cremini)
3/4 cup Marsala Wine
1/2 Cup Chicken Stock
1 teaspoon of Corn Startch
1 tablespoon water


~In a bowl, combine the flour and the seasonings and stir to combine

~Coat each breast in the flour and set aside 
~In a large skillet, heat the oil and add one of the tablespoons of butter
~Sear the chicken breasts on both sides until lightly golden brown, about 3 minutes each side
~Remove them from the skillet and place on a plate 
~Add another tablespoon to the skillet and add all the mushrooms
~Cook the mushrooms, stirring frequently until the mushroom are golden around the edges
~Add the Marsala Wine and simmer until the wine has reduced to half, takes about 3-4 minutes
~Add the chicken stock and bring to a simmer
~Add the chicken breasts back to the pan and let them cook on low for 10-12 minutes until fully cooked. The time will depend on the thinness of the chicken breast
~In a small bowl, combine the corn starch and the tablespoon of water and add the mixture to the skillet and mix until sauce thickens
~Add the remaining 2 tablespoons of butter and stir to combine
~Place on a serving dish and sprinkle with chopped parsley or chives


This recipe is a great make ahead dinner and reheats well.  Serve it with your favourite starch or a nice loaf of bread!  You will be scraping the plate clean with this yummy sauce!


Natalie


Friday, November 6, 2015

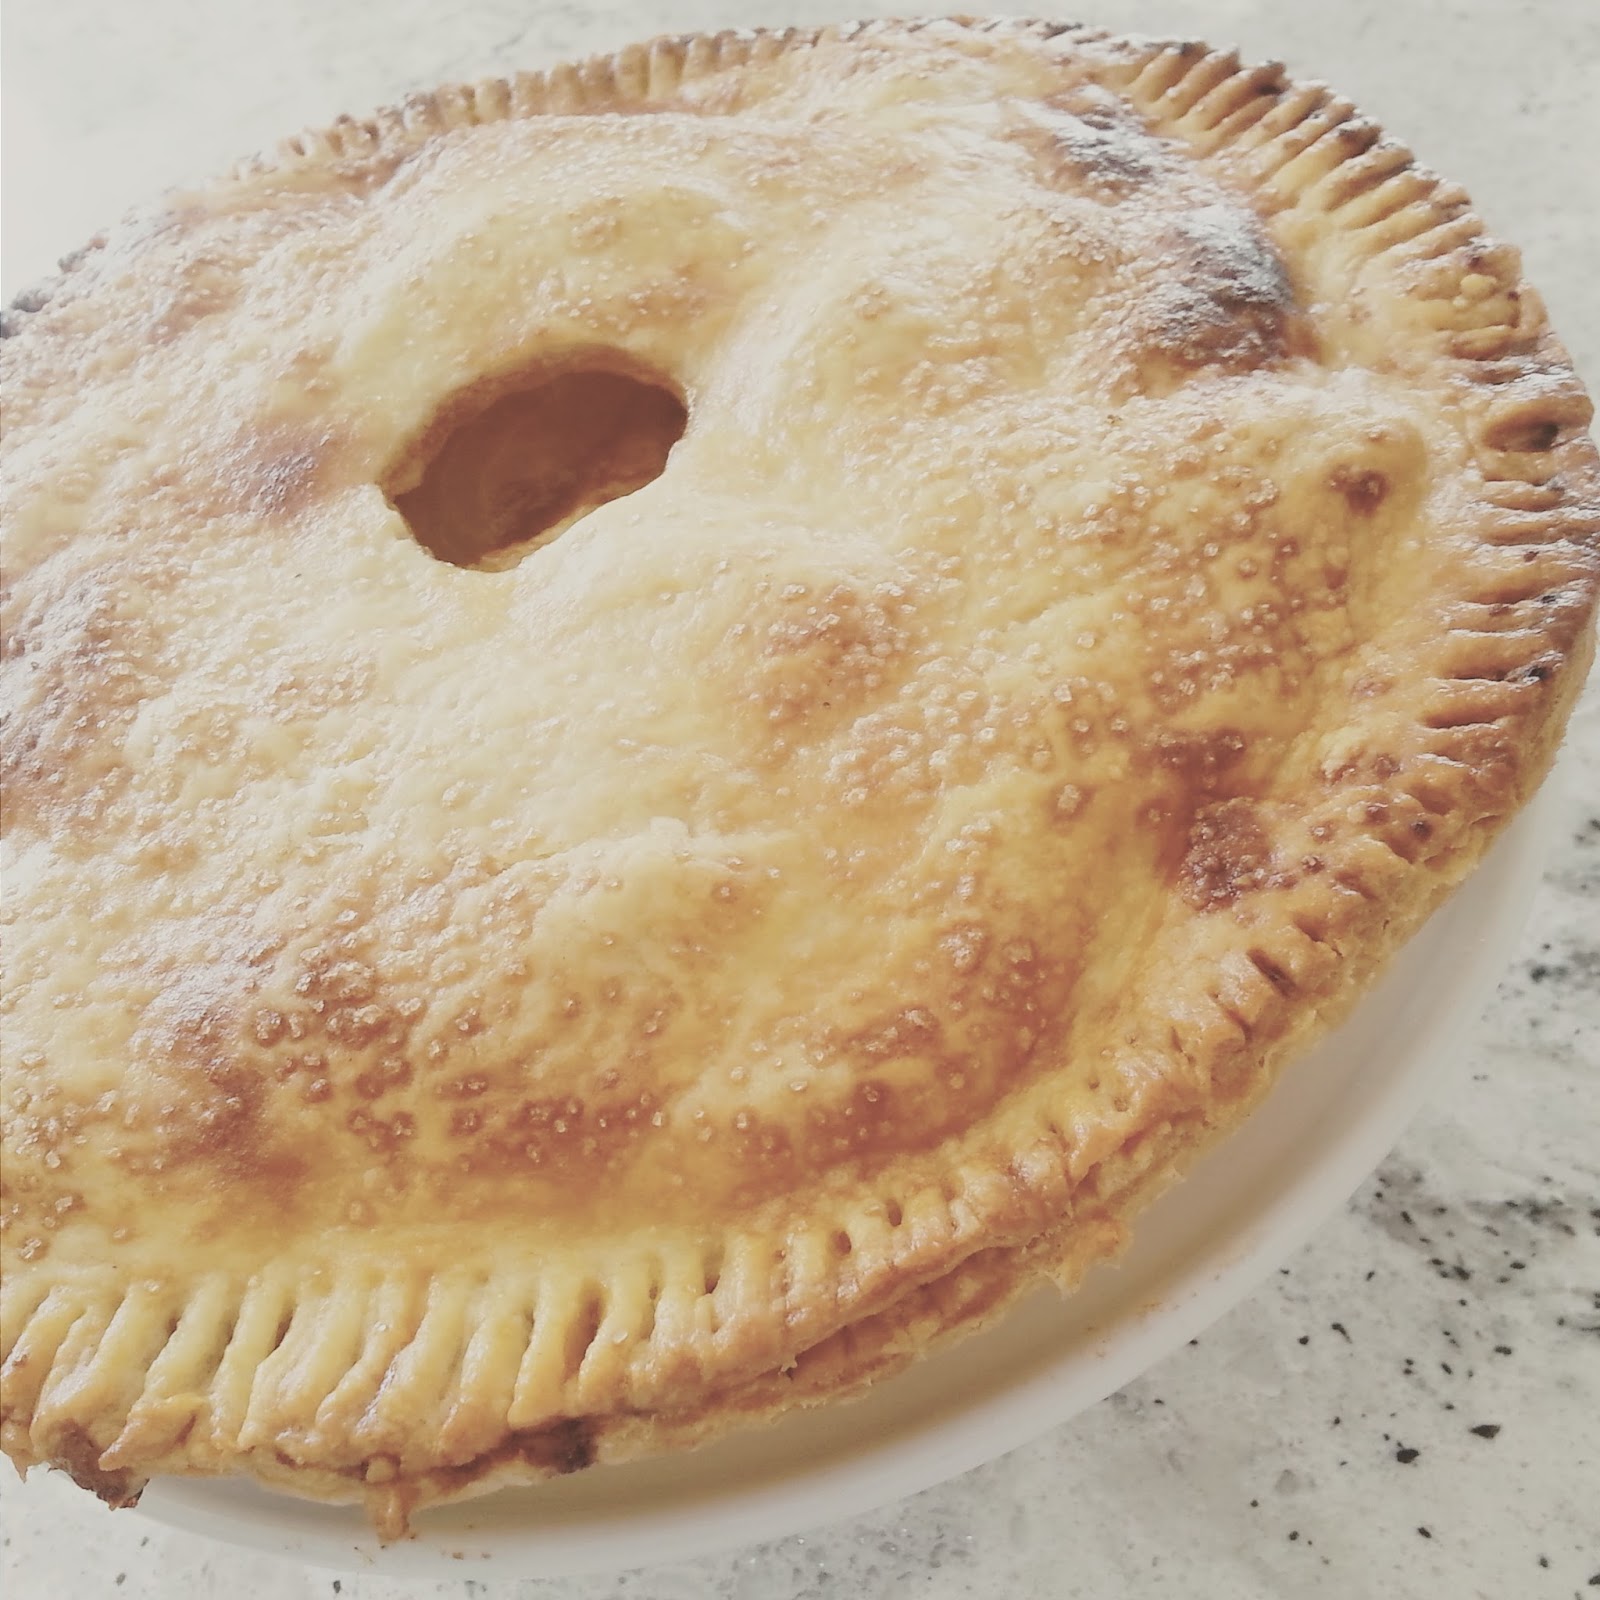
Is it the crust or the filling?

Who can honestly say they don't like pie?

I love pie... But I find myself torn between what makes me love it so much.  Is it the flaky, buttery crust that keeps me wanting more? Or is it the luscious steaming hot filling that does it for me?
Regardless, you can't expect a tasty, crisp, buttery, tender pie unless you have the right crust!

Ive finally found a fool proof recipe that I'm excited to share with you.


2 1/2 cups of all purpose flour
1 tablespoon sugar
1 teaspoon salt
1 Cup of cold unsalted butter (cut up into small pieces)
1/4 cup water
2 teaspoons of lemon juice
1 egg
1 tablespoon cold water

~In a large bowl, combine the flour, sugar and salt
~Add the cold butter and using your hands combine it with the flour and continue to break it up into small pieces until you've achieved a crumbly texture
~In a small bowl combine the water and lemon juice then add it to the mixture
~Using your hands, combine the ingredients until you can form the dough into 2 discs
~Wrap each disc in plastic wrap and refrigerate for 1 hour until firm
~When you pull out the dough, allow it to rest for 10-15 minutes
~Roll each disc into 1/4 inch thickness, this will cover a standard 9" pie dish
~Fill with your favourite homemade fruit filling and top it with the other rolled out disc
~Be sure to make a slit (about half an inch long) the top of the pie...this will allow all the steam to escape ensuring a perfectly cooked filling!
~Trim off any excess dough and pinch the two layers together, I like to use a fork to pinch it together. Makes a pretty pattern too!
~In a small bowl make an egg wash by whisking the egg and the tablespoon of cold water together
~Gently brush the wash onto the top of the pie for a nice golden, crisp and evenly baked crust!


This pie dough can be made up to 2 days in advance and kept in the fridge until your ready to use.  You will need to allow the dough to rest at room temperature for 15-20 minutes prior to rolling.

The dough is very forgiving so don't be intimidated or afraid if you think you've ruined it or you've broken it.  It can easily be repaired by folding and pinching it back together.

The best thing about any pie, is you can fill them with just about anything.  Let the filling speak for itself.  Don't get crazy with the seasoning, you don't need it.  The fruit changes its flavour when its cooked, adding depth, richness and sweet and bitter undertones that you simply won't appreciate if you overdue it!


Enjoy!
Natalie Mascia

Friday, October 23, 2015

Roasted Acorn Squash

Squash...where do they come up with the names for Vegetables?
Seriously, think about it...how appetizing does the word "Squash" or "Celery Root" actually sound?

Its no wonder its hard to convince our children to eat vegetables...

Despite the strange names of some vegetables out there (and trust me there are some seriously strange names out there) don't let the name fool you.  Its sort of the same idea when you hear people say "Don't judge a book by its cover."

Acorn squash, also know as pepper squash, is not only full of sweetness but packed with vitamins, minerals and low in saturated fats, cholesterol and sodium.   Its the perfect vegetable to cook with given how versatile it is.  You can roast it, grill it, steam it, sauté it and the list goes on.  

This recipe Im sharing is a fun way to introduce yourself and your family to this tasty vegetable without slaving away in the kitchen.  Its fast, flavourful and nutritional.  Lets not forget how much more cost efficient it is to eat seasonally and locally too!


2 Acorn Squash
4 Sprigs of thyme
4 tablespoons of butter
4 tablespoons of Canola Oil
4 Sage leaves
1/2 Cup cherry tomatoes (or 1/2 cup chopped tomato)
1 bag of Spagetti (you can also choose to use quinoa or any other starch of choice, just be sure to check the packaging for serving portions, this recipe will feed 4)
6-8 Cups of water (for cooking the pasta)
1 tablespoon of Chili Flakes (this is optional.  You can also add more or less depending on your preference)
Salt
Pepper
1 tablespoon Pumpkin seeds


~Preheat the oven to 400 degrees
~Cut the Acorn Squash in half and remove and discard the seeds
~Place in a baking dish with the tomatoes and drizzle the squash with the oil 
~Remove the leave from the Thyme and evenlly sprinkle over the squash
~Place 1 tablespoon of butter in the centre of each squash and one sage leaf and season them lightly with salt and pepper
~Bake for 20-25 minutes or until a golden brown 
~While they are baking, bring water to a boil (don't forget to salt the water), cook spaghetti, drain and set aside
~Once the squash is done, you will have a little buttery sauce that has pooled in the centre of each half. Remove the sage leave and set them aside
~Using a spoon, ladle the sauce onto the pasta, add the chili flakes and the pumpkin seeds and gently toss
~Fill each Squash half with a portion of the pasta and top the pasta with the roasted tomatoes and a sage leaf
~You can add a sprinkle of grated Parmesan Cheese to really "put the icing on the cake!"


This dish can be made with any starch of your choice...OR you can always leave out the pasta completely and enjoy the squash just the way it is....buttery, smooth and flavourful!


Natalie


Thursday, October 15, 2015

Butternut Squash Soup

Just because thanksgiving is over, doesn't mean you can't treat yourself to a warm, sweet and velvety bowl of Butternut Squash soup!  This vegetable is one of my favourites to cook with.  You can do anything you want to it and it can really hold up to some bold flavours, while still maintaining its light, creamy and delicate texture.

I love serving this soup to the family the night of our annual trip to the Pumpkin Farm.  I can make it ahead of time, and reheat it within 10 minutes and have a warm bowl of goodness to warm us all up while the kids decide who picked the best pumpkin this year!

The best thing about this soup is you can not only make it ahead and reheat it easily, but it can be jared and kept in the fridge, and also freezes well... so that you and your family can enjoy the flavour all winter long!


1 Butternut Squash
4 Potatoes
2 Cups of Chicken Stock
4 Cups of Water
1/4 Cup chopped Onion
1 tablespoon Thyme
1 tablespoon Canola Oil
2 teaspoons of Salt
Parmesean Cheese (or Romano)


~Peel and cube the Butternut Squash (You don't have to worry about them all being the same size, just roughly cut it into pieces)
~Discard the skin and the seeds
~Peel and cube the potatoes and set aside with the squash
~In a large saucepan, heat the Oil and sauté the onion just until translucent
~Add the squash and the potatoes and gently pour in the stock and the water
~Add the leaves of the thyme (discard the stems) and add the salt
~Bring the soup up to a boil and let cook for 20-25 minutes just until the squash and potatoes are fully cooked
~Once the vegetables are tender and cooked through, use your immersion blender (hand blender) and blend the soup until its smooth (If you don't have a hand blender, then just let the soup cool and you can transfer to a blender.  Do not attempt to do this unless the soup is cooled....)
~Top with a few slices of any sharp cheese. I prefer Parmesan or Romano.  (If you only have grated cheese, that will work fine too)


This soup is a great one to jar or freeze and keep for those cool, damp Fall nights.  Serve it with a few toasted pieces of bread and it will make the perfect family dinner!


Natalie


Wednesday, October 7, 2015

Scalloped Sweet Potatoes

There is nobody in my family who doesn't beg for seconds when it comes to Scalloped Potatoes.  But, you know me...always trying to switch it up!  This recipe is perfect for adding some extra vitamins to your dinner plate without the kids fussing!

Sweet Potato season comes at the perfect time...Im guessing Mother Nature planned it that way.  The cool, damp weather instantly makes me feel like comfort food...and who doesn't find comfort in creamy, warm, slow baked potatoes?

This dish is a great one for Thanksgiving dinner.  No fussing about mashing the potatoes, then trying to figure out how to keep them warm because you need stove space.  Scalloped potatoes do best when you just let them be...in the oven, while you prepare the rest of the feast!


2 large Sweet Potatoes
2 Yukon Gold Potatoes
2 Sprigs of Thyme
2 Cups of Heavy Cream
1/2 Cup Parmesan Cheese
1/3 Cup finely chopped Onion (Use a Spanish or a Sweet Onion)
1 tsp Salt
1 tsp Pepper
1 tablespoon Oil


~Peel the potatoes and set aside
~Finely chop the Onion and set aside
~Using a mandolin, Slice all the potatoes thinly (If you don't have a mandolin, just simply slice the potatoes as thin as you can. If they are a bit thicker than a mandolin would slice, you may need to add 5 minutes to the cooking time. Don't worry, It won't change the delicious flavour.)
~Lightly butter a Casserole dish or spray with cooking spray and start to layer your potatoes. I like to start and finish with the sweet potatoes but you can do any arrangement you prefer.  Just be sure they are evenly laid in the dish so everything can cook evenly
~In a medium Saucepan,  Add 1 tablespoon of Oil and sauté the Onions just until translucent.  It will take about 2 minutes
~Pour in the Heavy Cream, leaves from the Thyme, Salt and Pepper and bring to a simmer
~Once its simmering, you can add your Parmesan Cheese and just gently stir to combine
~Carefully pour the hot mixture over the potatoes.  You may need to gently press the potatoes down using a spoon
Sprinkle a little Parmesan cheese on the top of the potatoes and bake for 20-25 minutes at 375 degrees


This dish is the perfect one to bring for Thanksgiving potluck! You can make it ahead and simply warm it in the over for 10-15 minutes at 350 to get it warm and bubbly again!


Natalie